2.1.1.1.1.1. Setting Up the Makahiki and Vagrant Development Environment
These instructions configure a VirtualBox Ubuntu 12.04 LTS 32-bit virtual machine with Vagrant, and download the Makahiki source code.
With the exception of Windows users, this guide assumes that you are using a Bourne-type shell (such as bash), which is the default on Mac OS X and Linux. Using a C-shell variant (like tcsh) is possible but not recommended.
2.1.1.1.1.1.1. Hardware Requirements
A modern dual core CPU with 4 GB RAM should be sufficient to run the virtual machine.
2.1.1.1.1.1.2. Host Operating System Recommendations
The host OS is the OS that Vagrant and VirtualBox will be installed on. If your OS is not listed here, make sure that Vagrant and VirtualBox are available for your OS.
- Windows 7 or 8
- Mac OS X
- Recent version of Red Hat Enterprise Linux, CentOS Linux, or Ubuntu Linux
2.1.1.1.1.1.3. Install VirtualBox
Download VirtualBox for your host OS by following the instructions on the VirtualBox downloads page.
Follow the installation instructions for your operating system in Chapter 02 of the VirtualBox manual. Select Yes when asked to install drivers for USB support and VirtualBox Host-Only Networking.
2.1.1.1.1.1.4. Install Vagrant
Download the latest Vagrant installer for your host OS.
The latest version of Vagrant with which this installation process has been tested is 1.6.2.
Other versions with which this process has been tested are 1.2.4, 1.3.5, and 1.4.3. The installation process should work correctly with all Vagrant versions from 1.2.4 through 1.6.2.
Follow the Vagrant installation instructions.
2.1.1.1.1.1.5. Open A Command Line Application
Open a command line terminal on your system. The Windows terminal is called “Command Prompt.” The Mac OS X terminal is called “Terminal.” Most Linux systems with a graphical user interface call their terminal “Terminal.”
Terminals usually begin each input prompt with the directory (also called a “folder”) that is the user’s current location in the file system. This is called the “working directory.” Terminals usually end their input prompt with a special character (e.g., >, #, or $).
When a user types a system command or program-specific command at the input prompt and presses Enter, the operating system runs the program specified by the command.
Note
In the rest of this article, a “>” is used to indicate a generic command prompt on any host OS (Windows, Mac OS X, or Linux). Commands appearing after a “>” prompt in this article should work on all three operating systems. Though some systems automatically append a space after the prompt, you do not need to type a space before a command.
2.1.1.1.1.1.5.1. Windows
Open a Command Prompt or type cmd.exe in Run.
An example of the Windows Command Prompt:
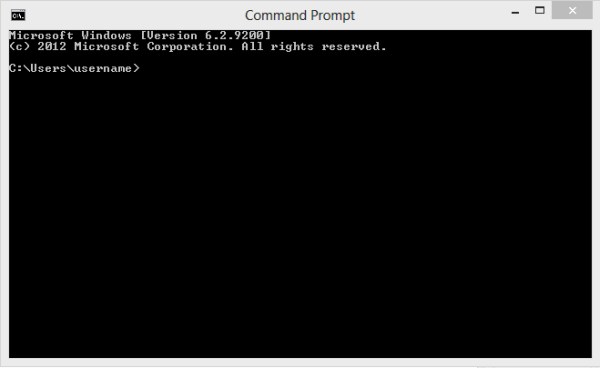
The Windows command prompt opens with a working directory of C:\Users\<username>, where <username> is the username of the current user. A Windows command prompt that has been opened with “Run as Administrator” opens in C:\Windows\system32.
This guide does not require a Command Prompt to be run as an Administrator. However, administrative privileges may be required to resolve security and permissions issues related to Vagrant.
2.1.1.1.1.1.5.2. Mac OS X
Open a Terminal. If your default shell is not bash, type bash to temporarily switch to a bash shell.
If you are using a recent version of OS X, you will not need to change the shell unless you changed the default shell in the past. The bash shell has been the default shell since OS X 10.3.
An example of the OS X Terminal:

The ~ indicates that the user is in their user home directory.
2.1.1.1.1.1.5.3. Linux
Open a Terminal. If you are using a headless OS (an OS that does not have a graphical user interface), you are already in the Terminal.
Though every Linux distribution does this a little differently, most distributions open a terminal with a command prompt of the form:
<username>@<computer_name>:<working_directory>$
An example of a Terminal shell window from Ubuntu Linux:
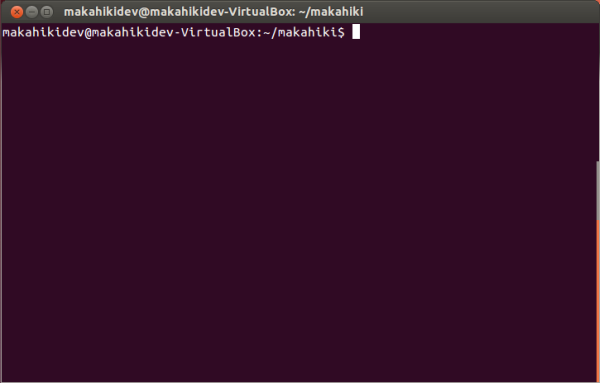
The ~ indicates that the user is in their user home directory. On Ubuntu, this is equivalent to /home/username.
2.1.1.1.1.1.6. Download the Base Virtual Machine
Download the base virtual machine image precise32 from Vagrant’s servers:
> vagrant box add precise32 http://files.vagrantup.com/precise32.box
Note
It is only necessary to download each base virtual machine (“box”) once per user account on the host OS. Once the “precise32” box has been downloaded, it can be reused by Vagrant to create any virtual machines that specify “precise32” in their Vagrantfiles. If your host OS is Windows and you switch to another user account, you will need to download the “precise32” box again.
2.1.1.1.1.1.7. Download the Makahiki Source Code
Downloading the Makahiki source code will create the “makahiki” directory.
There are two ways of obtaining the Makahiki source code: downloading it as an archive, or cloning the Git repository.
Note
The “makahiki” directory created by extracting the .zip file or cloning the repository will be the directory Vagrant uses as a reference point for accessing the virtual machine. This guide refers to that directory as the “makahiki directory.”
2.1.1.1.1.1.7.1. Download the Archive
Follow these instructions if you do not have Git or Git for Windows and are unable to install them.
- Go to https://github.com/csdl/makahiki
- Click the button to “Download ZIP.”
- Extract the makahiki.zip file that is downloaded.
- Move the extracted “makahiki” directory to the directory you want to start the Vagrant virtual machine from.
2.1.1.1.1.1.7.2. Clone the Repository
Follow these instructions if you have installed or are going to install Git or Git for Windows.
Windows users can install Git for Windows.
OS X and Linux users should be able to download Git for their operating system. See GitHub’s setup guide for instructions.
After installing Git or Git for Windows on your operating system, go back to your Command Prompt or Terminal.
In the Command Prompt or Terminal, change your working directory to the directory you want to place the Makahiki source code directory in:
> cd <path-to-directory>
For example, if you wanted the source code to be in C:\Users\username\Vagrant, you would use the command cd C:\Users\username\Vagrant to change your working directory.
An example in Windows:

Then, enter this command in your Command Prompt or Terminal to clone the repository:
> git clone http://github.com/csdl/makahiki.git
Note
If the “git clone” command does not work in the Windows Command Prompt, you will need to use the “git clone” command in the Git for Windows terminal instead.
2.1.1.1.1.1.8. Install Makahiki On Vagrant
To install Makahiki, continue to Quick Start Guide: Makahiki on Vagrant.